# L01 - Visual Studio Code (VS Code) Lab
1. Install Visual Studio Code from FIRST, you will need their version with WPILib. [Link](https://docs.wpilib.org/en/stable/docs/zero-to-robot/step-2/wpilib-setup.html#wpilib-installation-guide)
2. In this exercise, we'll use an IDE to enter and execute a Java program. Start and the following window will appear:
[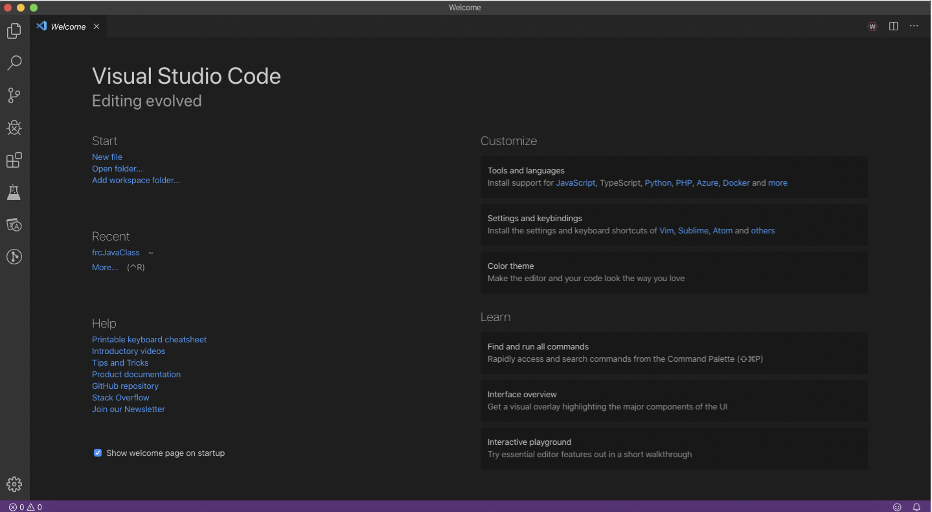](https://wiki.parts3492.org/uploads/images/gallery/2025-04/6iw8ornqebjazvfc-picture1.png)
3. Select the File > Open and either open a folder to use as the workspace or create a new one
[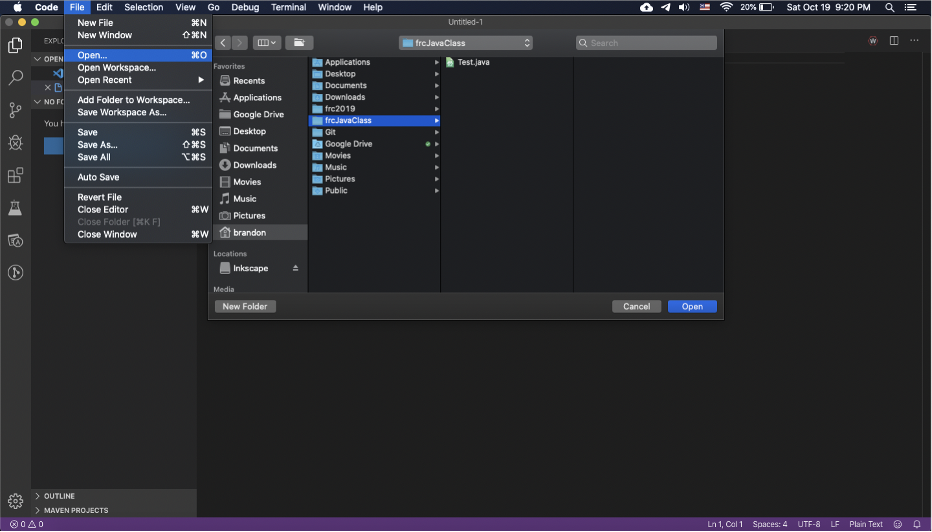](https://wiki.parts3492.org/uploads/images/gallery/2025-04/picture1.png)
4. Create a new file File > New File
[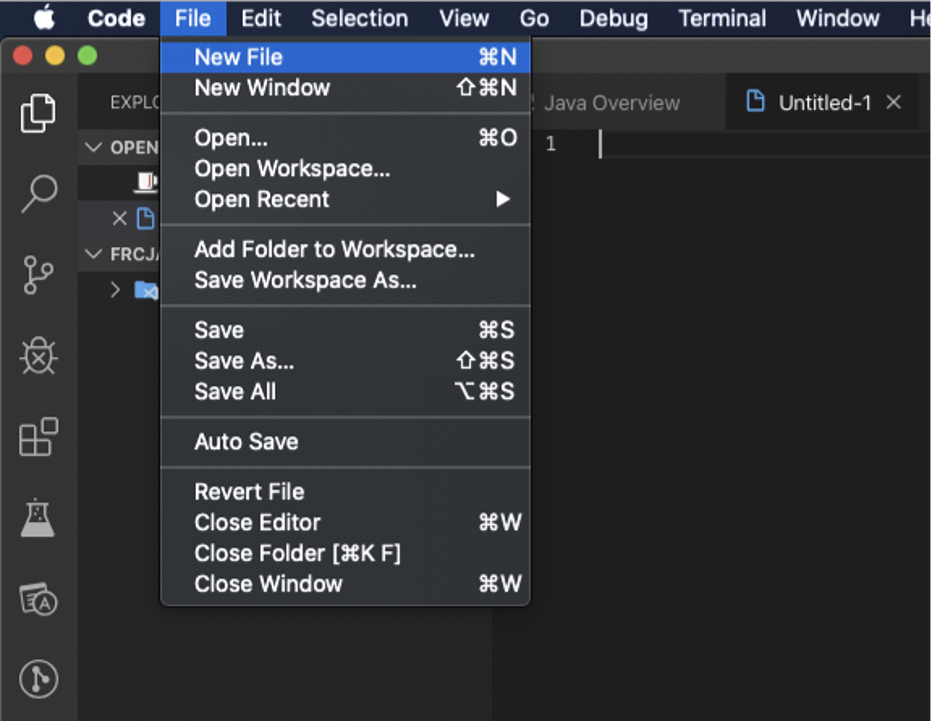](https://wiki.parts3492.org/uploads/images/gallery/2025-04/jBHpicture1.png)
5. Save the file as Test.java
[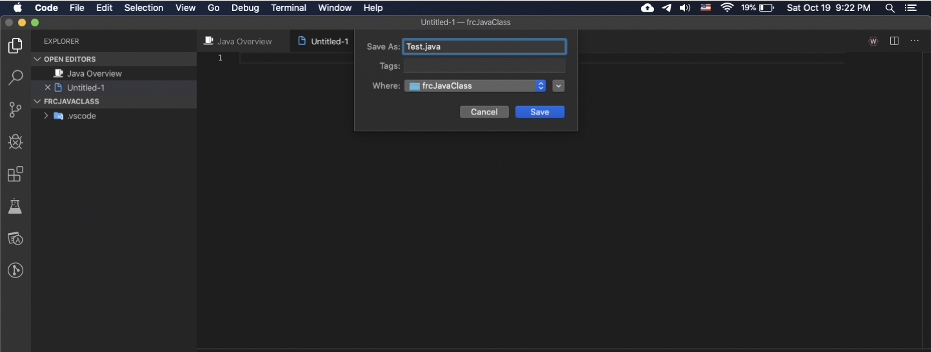](https://wiki.parts3492.org/uploads/images/gallery/2025-04/duTpicture1.png)
6. Add the following code to start your program.
```
public class Test {
}
```
7. Add these standard comment lines at the start of the Class (use your name and the current date), this goes above line 1:
```
/**
* Print the Answer to Life, the Universe, Everything.
* @author Enter your name
* @version Enter today's date
*/
```
8. Enter the following code starting inside your class.
```
public class Test {
static int answer1 = 0;
static int answer2;
static int theAnswer;
public static void main(String[] args) {
answer1 = 20;
answer2 = 2 * answer1;
theAnswer = answer2 + 2;
System.out.println("The answer is...");
System.out.println(theAnswer);
}
}
```
9. To run the program, press run above the main method. The output should be:
```
The answer is....42
```
10. Create a new file named `ComputeCA`.
11. Create a class in the file named the same as the file name. It always has to be the same. Your class and file name should ALWAYS start with a capital letter.
12. Change the class description to `Computes the circumference and area of a circle`.
13. Change the author and the version by entering your name and today's date, respectively.
14. Enter the signature for the main method, this signature is:
```
public static void main(String[] args){
}
```
15. Declare a variable named `radius` of type `double` that has a value of 4.5.
16. Declare another variable named `circumference` of type `double` that has the value of 2π × radius. Use 22.0/7.0 for the value of π.
17. Declare a third variable named `area` of type `double` that has the value of π × radius2. To easily compute the radius2, multiply the radius by itself.
18. Display the value of the `circumference`.
19. Display the value of the `area`.
```
Circumference: 28.285714285714285
Area: 63.64285714285714
```
#### Java API Documentation
If you have enough screen real estate, open your browser and visit [http://java.oracle.com](http://java.oracle.com) then follow the link to the API documentation. Having the API window always available speeds up the development process.